My first woodworking post here! And its actually something I made quite a while back, but never really got around posting plans for. This is a really simple custom table lamp you can make in very little time and also one which doubles up as a USB charger. The only power tool you’ll need is a drill!
Parts Required
- Drill
- 1/2″ wood – 30″ x 5″ (You won’t get wood this size, but this is all the half inch ply you need for this project)
- 1/4″ wood – 10″ x 5″ (The same for this as well, you can use scrap wood if you have some laying around)
- A USB charger
- Wire
- A bulb holder
- A small LED bulb
- Glue
- Female and male AC plug
Steps
- Cut 3 pieces of 10″ x 5″ wood (two from the half inch and one from the quarter inch)
- Like the template below, draw up a scaled version of of the text and place holes in roughly the positions of the text. The holes shouldn’t be too close, otherwise the drill bit will keep slipping into the adjacent hole (unless you have a drill press, which I don’t). It doesn’t matter if the text doesn’t look readable, it was the same for me, but it takes shape better in the wood.

The front of the box. The holes signify drill points
- On the piece of 1/4″ plywood, make a hole roughly the size of a usb port. Use a cable to measure it out.

The top of the box
- For the side pieces, cut out 5″x5″ pieces of 1/2″ plywood.
- Now, mount the bulb holder on one of the side pieces. Make sure you mount it at the centre of the piece so that the top piece can fit on well.
- Now, mount the usb device so that it is aligned with the hole made previously. In case your charger has a curved edge (like mine did), find a corner to mount the usb charger. Then use a USB female connector to extend the charging port.
- Finally, wire up the AC plug to the bulb and use the female AC plug to the USB charger.
- Glue the entire thing in place! This is the boring part – waiting for that glue to dry so that you can look at your beautiful creation.
- After its dried, I suggest you use a stain to make the plywood look nice. I used paint, and it just hides the grain of the wood completely.
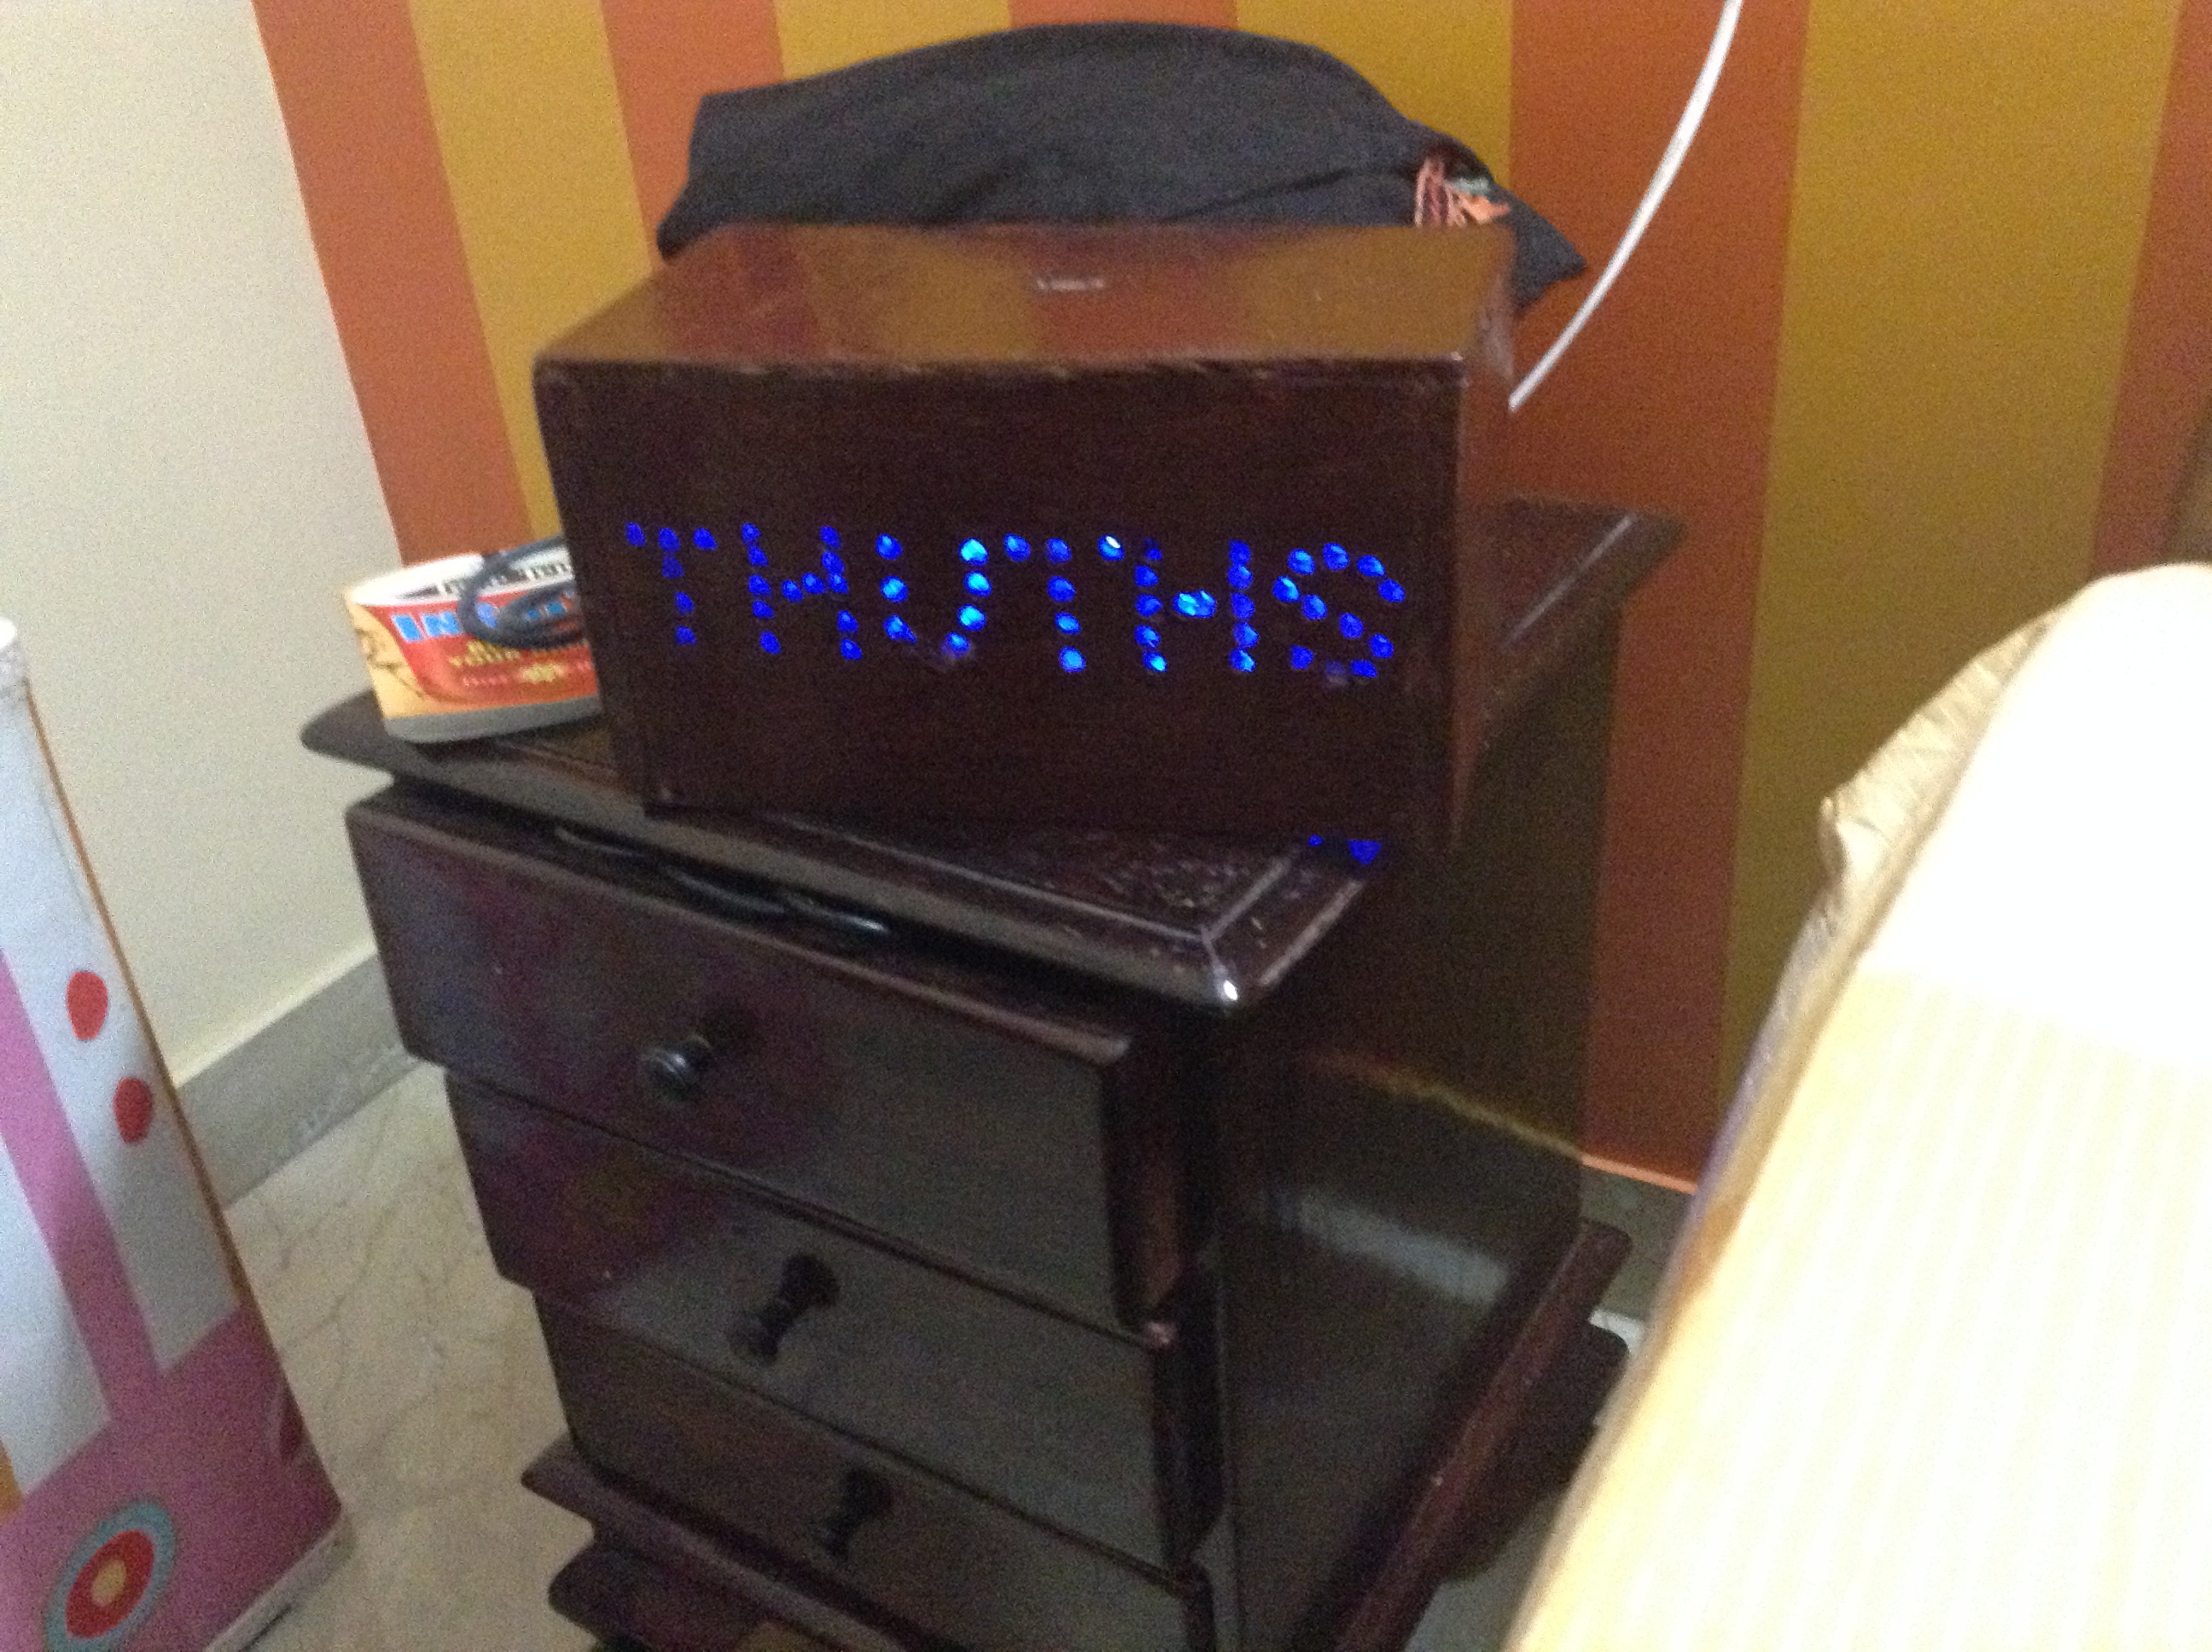
Here’s the one I made for my sister!